Sunday, February 24, 2013

Really exciting news...

There's a new girl coming...

I've been negligent of my blog...  With work and my mom's health, my plate has been pretty full.

Several months ago, I got on a waiting list.  Now, my name hasn't come up on the waiting list -- so I still have to wait, but there is some activity and I can't wait to see how this will all transpire.

I re-read an old post of mine.  It was about porcelain bjds (Actually entitled something like blogs, forums,etc), it was how I had written off resin...  In the post, funnily enough, I wrote I will probably end up eating those words.  Well, here's to a great big plate of crow...

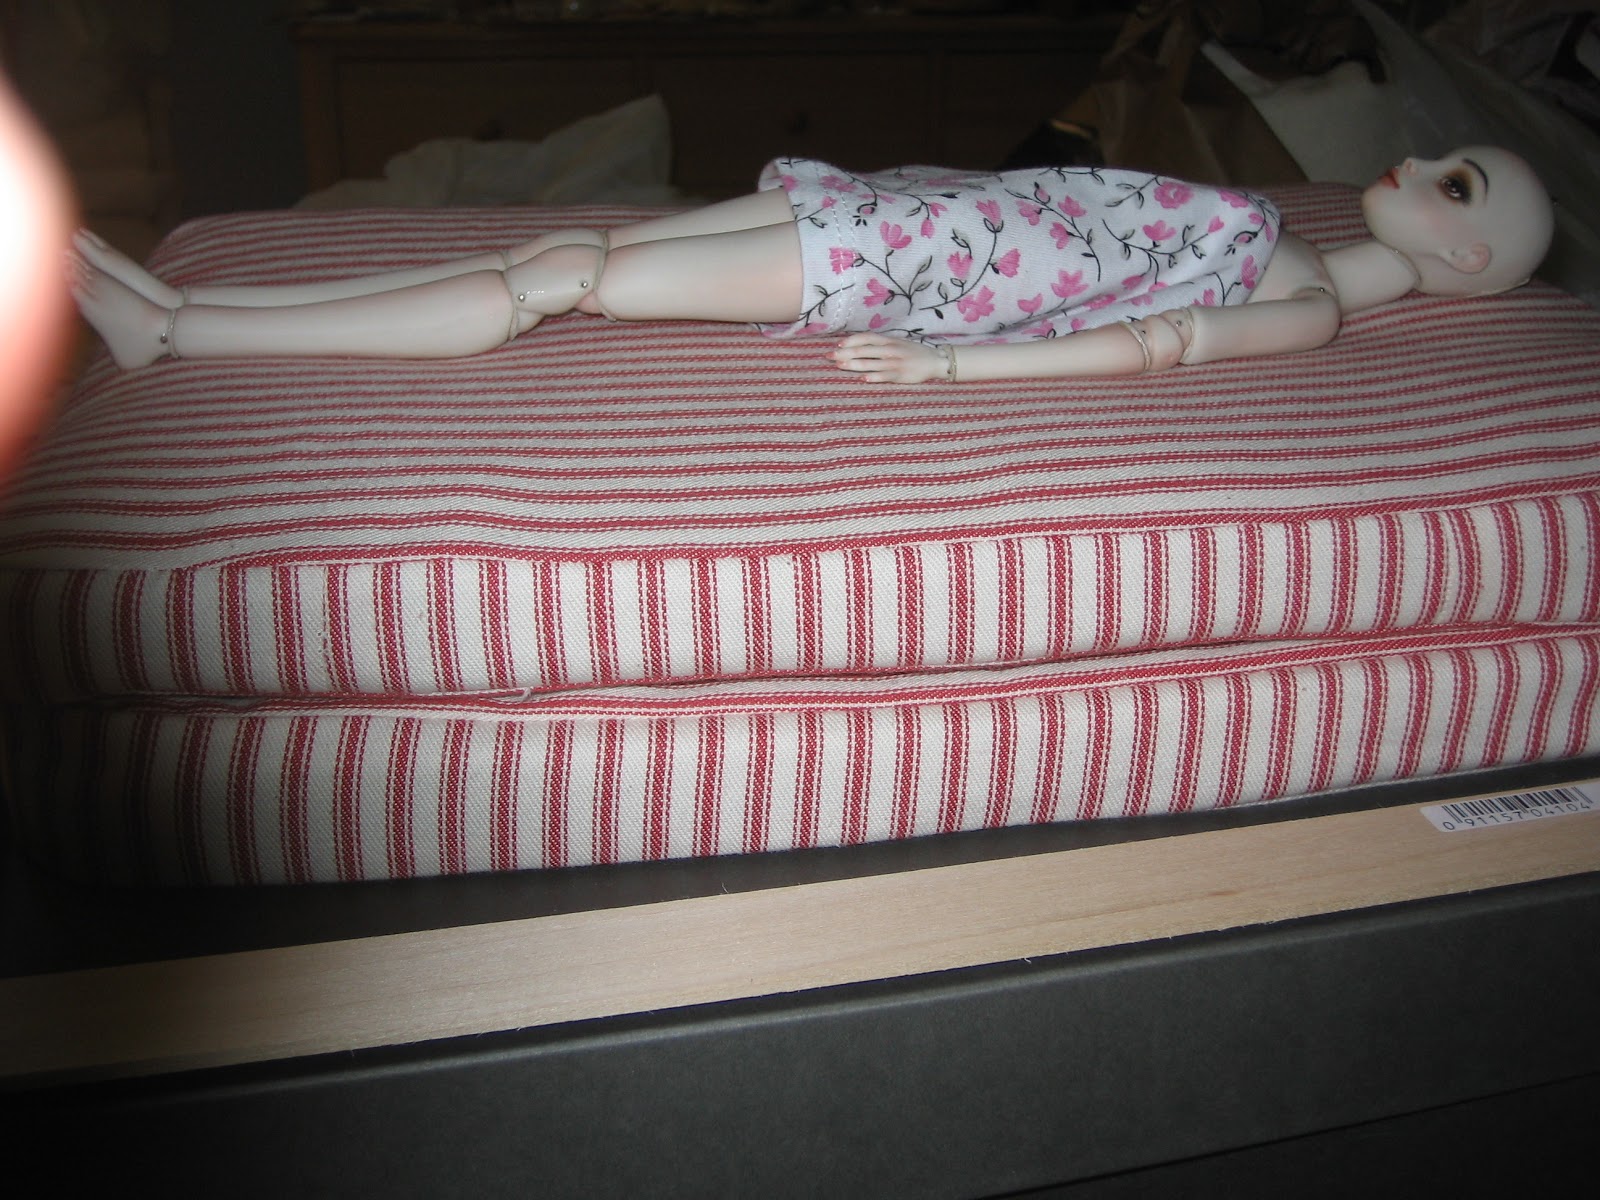
I absolutely love the work.  I can't wait to see the work in person.  I want to do another stop motion animation.  Similar to the one posted on the side of this blog.  But that was really "done" by my daughter -- she helped me with the nuts and bolts of it.  But when she's home for break...

As I re-read my old blog post, I realize how many things have changed.  Den of Angels now has a place for non-asian bjds (I didn't see that coming), Enchanted doll / Marina Bychkova has launched a resin line,  as have Angel egg dolls, lightpainted dolls, -- even Em'lia has launched a resin doll line!!

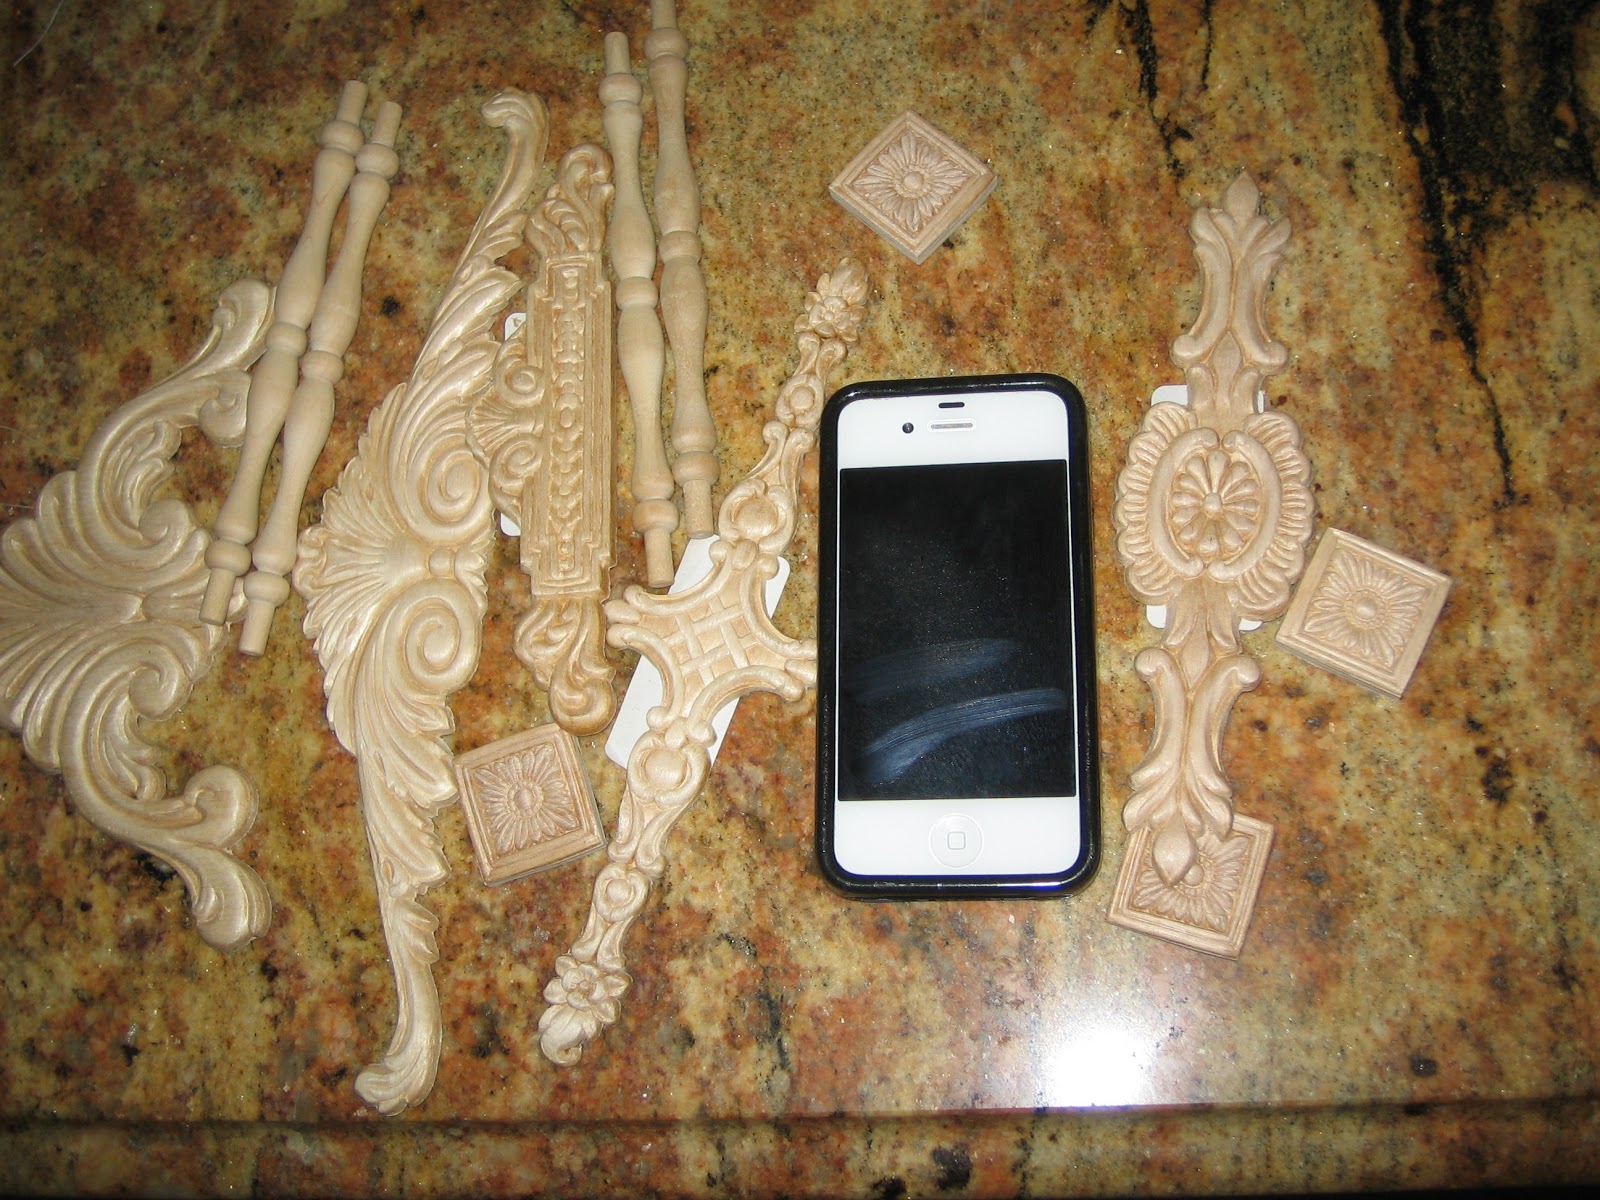
Things are heating up...  I'm so amazed at all the new resins out there...  I'm particularly interested in one style of doll...

Soon to be updated...

Saturday, February 23, 2013

let the painting begin....

and it has.  I've decided to go with a craft paint water based (as I have it on hand) and I will decide whether to use sandpaper to distress..

I started on the back side to test the paint and what the finished product will look like.


so far, so good, but it isn't dry yet.

Friday, February 22, 2013

Uh, oh.... Wish I had done more measuring

When I did the dry fit, I had the clothes pins (clamps) in the way.  This made for some bad measuring....  It seems that the 1/2" or so -- on each side -- makes for about a one inch gap... darn it.  I could disassemble the bed and reassemble the rails, but that glue is very strong so I would have to break off the pieces and sand it down.  Really not practical.    I'm looking at the photo and it doesn't look terrible, but I think I need to remake the mattress and box spring.

I did the measurements for a queen sized bed and scaled it using the height of the doll as being the average.... So this will be wider.  close to king but not exactly.  Well, I do know that there is no standard sized doll bed out there (It's not like I'll need to buy sheets)...  So maybe I will make another bed since I have an extra mattress and box spring...  Maybe I can make another for a swap or something.

Thursday, February 21, 2013

Gotta start painting

I almost want to either white wash it or paint it and then distress it so it will look more shabby chic.  I've been "pinning" a ton of shabby chic things for inspiration.

I don't know if I should use craft paint or enamel or something else?  It is wood, so I could always strip it and start over if I don't like the finished product.

Wednesday, February 20, 2013

Linens

I went to a shop a couple days ago that had something I think I can use.
The lighting was bad, it is a light purplish blue.  This makes it look more like a dusty blue.  It's made by Laura Ashley and I'm going to use the ruffle on this pillowcase  to make a dust ruffle for the new bed!


Tuesday, February 19, 2013

Getting there!

At least for the frame part, I've got linens and painting still to happen.

I glued most of the frame and I'm pretty happy with how it has come together.  My husband said "You made that?  Was it a kit or something?"  I said no, I was just thinking about a bed and I got the materials (I've been thinking about this for a while!  So the wood, most of it had been laying around for months, I got last minute pieces that I needed and viola -- got to building).

I like the way it looks, I'd like to experiment with some other designs, but I think one doll bed is enough for me ;)


It's funny because the wood had bar codes and so the front leg has a barcode on it;  It almost looks "store bought" -- once it's painted, no one will see the bar codes ;)

Yeah, almost done...

Monday, February 18, 2013

Its coming together

I'm pretty excited.  There have been a few "technical" challenges, but for the most part, I've been very happy with the progress.  I don't have as much time as I hoped I would to work on the project, but day by day I'm getting there.


Cans holding glued pieces in place.


Still fitting things together


Saturday, February 16, 2013

Went all the way to the craft store....

And realized I hadn't written down the part number to match the other wood carving.  Not only had I bought several, but there were several others (I hadn't chosen-- or had I).

I was so perplexed by the time I chose "the one" that was the match.  The guy in the store was so nice, he said, oh it's no problem if you have the wrong one, I'll let you bring it back.  I didn't have the heart to tell him that the distance was the problem for me.  It's well over an hour away and I just "couldn't" make another trip.

The good news was when I got home, I had chosen the right one!  I was so happy.

Now I just need to measure and glue it in place then I can start painting....


I'll mark it off...


Glue and weight


Headboard and Footboard
Ideally, I would have liked to have had a smaller design on the footboard that mirrored the headboard, but I think once assembled and painted, it will look just fine.


Friday, February 15, 2013

Getting into the "groove"

I'm back to finding time for myself...  Great...

I'm feeling more creative... Great.....

Got more of the bed competed... Excellent!


There's leg attachment.

Then there's more:
Dry fit with side rails...

So far, so good...

Just need the carving for the footboard, glue it all together, paint it, cut the slats and put the mattress on, make some bedding... (I guess I have more than I thought ;)  )

Thursday, February 14, 2013

almost ready for Valentine's Day!

If only it were ready... Almost

Still clamped, propped, and taped, just to see if all the parts are going to fit together....

So far so good.


Coco has plenty of room for a Valentine's day "guest".  I'm pleased so far.  I see where I want to add some more trim, etc.

The mattress and boxspring will "sit" higher on slats so the headboard trim won't look so high.

Wednesday, February 13, 2013

And then there was more

I can actually see it coming together and I figured out how the legs would work, so I'm happy!


These are the side rails, lots of measuring, cutting, aligning... really a pain.

Next step fit the pieces together...


Tuesday, February 12, 2013

Now for the assembly

Lots of taping, clamping, weighting down....


then there was more....
gluing pressing cutting...

That's the back of the footboard.

More tomorrow!

Monday, February 11, 2013

Let the cutting commence

I gathered my tools:

These included my rulers, a utility knife and a small saw:


The problem is cutting takes a lot of patience...  I don't have a lot ;)

The trim was easier to cut than I thought it would be.  The flat piece, not so much.  I did use a sand block to level off the side and it will be painted, so no big deal.


Tah dah!  One piece of wood and two pieces of trim cut (fingers still in tact -- a definite plus)

Sunday, February 10, 2013

Still can't decide

I came up with yet another combination....


Footboard design that I thought I was going with.  (Still sideways... )


It's hard to tell from the photo, but the bottom trim piece is very flat.

 So I think I may go with a thicker trim piece.


For the headboard.  I can't decide whether to have the medallion up over the piece of wood, which looks good (in my opinion, but long term durability?)  Or...  use a trim piece for the top and put the medallion below it.  As so:


But the one decision I have made is it's time to cut some wood!  I'm going to cut the trim and footboard pieces and "play" with it.

Saturday, February 9, 2013

More tools...

Got some metal rulers.  These should help with straight edge/cutting and measuring.


Friday, February 8, 2013

Gathering my supplies

I've gotten the supplies together; and will be ready to build!


Stay tuned!

Thursday, February 7, 2013

I know I'm fickle.

I think I do want to go with the scroll pattern on the headboard and the footboard; which means another trip to the store...  It will have to wait til next week, unless I get down there on the weekend???


So this would be the headboard.  (I wish I could figure out how to turn these photos.)


And this would be the footboard.  (turned and painted white of course)

Wednesday, February 6, 2013

Can't decide....

This is what I have so far:


Imagine painted white... for the headboard.


Sorry it is sideways.... Again white for the headboard.


This would be the footboard... I kind of like this scroll.... wish I had 2.  One for the head and one for the foot.

This would be the headboard.

Maybe I need to make another trip and get one more!

More measuring...

Tuesday, February 5, 2013

Here's what I got

So, I did go a little "crazy".... I liked so many different things.  I couldn't decide


The phone is in there for a scale.  You can see they are thin.  about 1/2 the thickness of an iphone...

I should have chosen more that go "together" so I could use one for the headboard and one for the footboard.  I loved this little shop.

Monday, February 4, 2013

so many steps

I went to the hobby store yesterday.  I'm heading to the woodworking center today!  I closes at 4:30, so I'm taking a late lunch and hitting it.

Yesterday I got most of the wood (miniature) trim pieces I needed and the glue.  I had the paint, but I needed to finish the mattress and box spring.

So viola.


Yes, that's my finger on the right!  You get the idea.  Mattress and box spring:  check.  Now I need to cut and glue the wood, assemble and paint....  I'm off to find some carvings.....


Sunday, February 3, 2013

Started by laying out the wood....

Realized something early on.  I have too much of some pieces and not enough of others.  I was in the store and just picked out what I liked; not giving too much thought to what was needed (definitely need an engineering mind to complete this task) -- don't have one though.


I had all these pieces; so I laid them out.


I know I need a headboard and a footboard (with trim pieces) side rails and slats for holding the mattress and 4 "legs".  

I don't think I should glue before painting??  As the paint won't adhere where I've glued... or is it the other way around, the glue needs to be on raw wood then painted...  Need to look that up.

Found a place where I can get some wood carvings to add to the headboard; but it's Sunday, so they are closed till tomorrow.  Uggh.  I have to work tomorrow and it will be closed before I leave work... drat!

I'll proceed by cutting and measuring what I can today.  Buying the trim I need today; and getting the carvings as soon as I can....

Saturday, February 2, 2013

Building a bed

Today, feeling motivated, I took out the wood I had purchased to make the doll bed....  Hmmm.  I couldn't remember what I had in mind.  It had been so long, I know I wanted to produce a shabby chic type bed, but I had forgotten the pattern.  I combed through all my notebooks, but it seems I didn't jot it down....  I did some rough sketching, but nothing really appealed to me.  (guess it's like a ghost sketch)  barely visible.  I'm going to wing it tomorrow and hopefully have something to "show" by the end of the day.